



If you’re dealing with a faulty Body Control Module (BCM) on a Jeep Grand Cherokee, Dodge Ram, or Durango, you know how expensive and time-consuming it can be to order a new one from the dealer. But there’s a faster, more affordable alternative: cloning the BCM by transferring the microcontroller data.
In this guide, we’ll walk through the process of cloning a 2015 Jeep Grand Cherokee BCM using the Multiprog programmer. We’ll cover how to read the firmware from a faulty module and write it to a working donor module, including the vehicle’s VIN, configuration data, and immobilizer information.
Why Clone a BCM?
The BCM (Body Control Module) handles critical vehicle functions such as:
Central locking
Lighting
Immobilizer system
Power windows
Vehicle configuration data
When a BCM fails and needs replacement, you can’t simply swap in a used module from another vehicle. The BCM stores unique vehicle data—including the VIN, PIN code, and configuration settings—that must match the vehicle. Without transferring this data, the module won’t work properly.
Cloning allows you to copy all of this information from the faulty module to a working donor module, making it a direct plug-and-play replacement.
Tools Required
For this procedure, you’ll need:
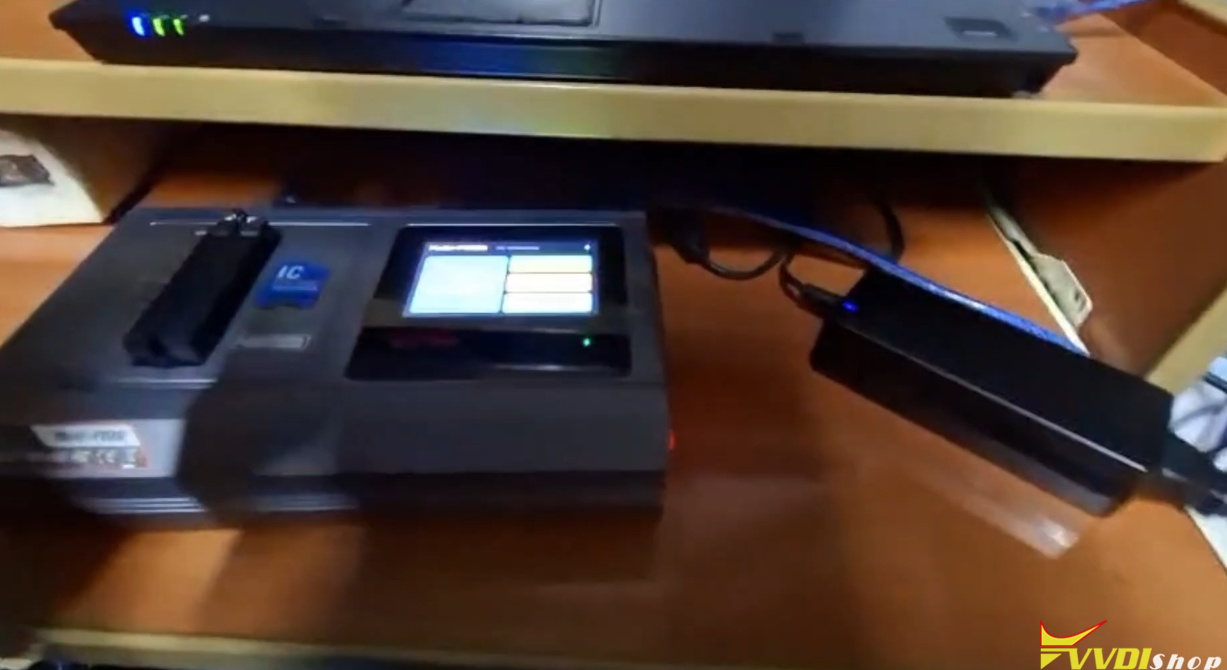
Xhorse Multi Prog programmer (or similar tool)
MPC5515 microcontroller (the chip used in these BCMs)
Soldering equipment
Appropriate wiring and adapter
Step-by-Step Cloning Process
1. Identify the Modules
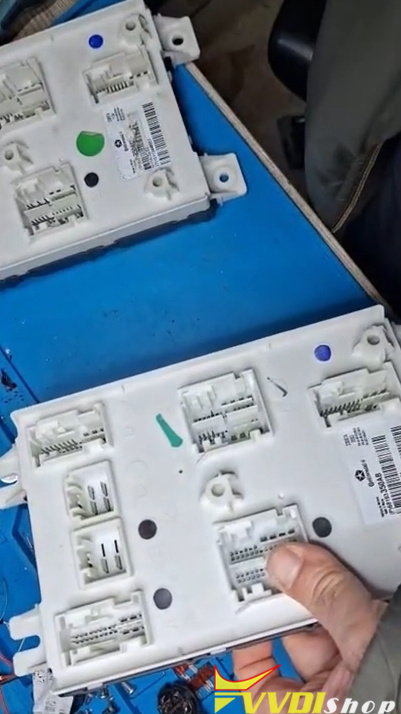
We have two BCMs from a 2015 Jeep Grand Cherokee:
Faulty module – shows signs of water damage and corrosion around the chip legs.
Working donor module – fully functional and ready to receive the cloned data.
Both modules share the same part number, which is essential for compatibility.
2. Open the BCM Cases
Each BCM is housed in a plastic casing secured by:
One center screw
Side clips that need to be carefully unclipped
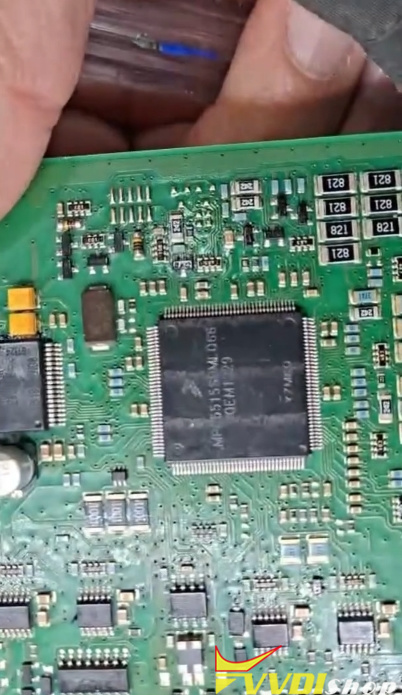
Once opened, you’ll see the main microcontroller: MPC5515, manufactured by NXP (formerly Freescale). This chip stores all the vehicle-specific data.
3. Prepare for Soldering
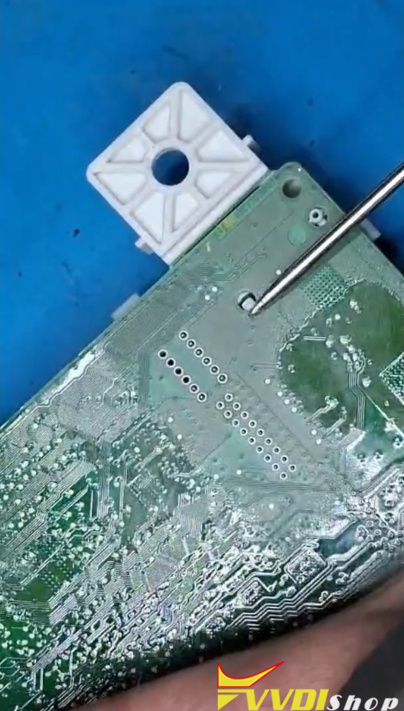
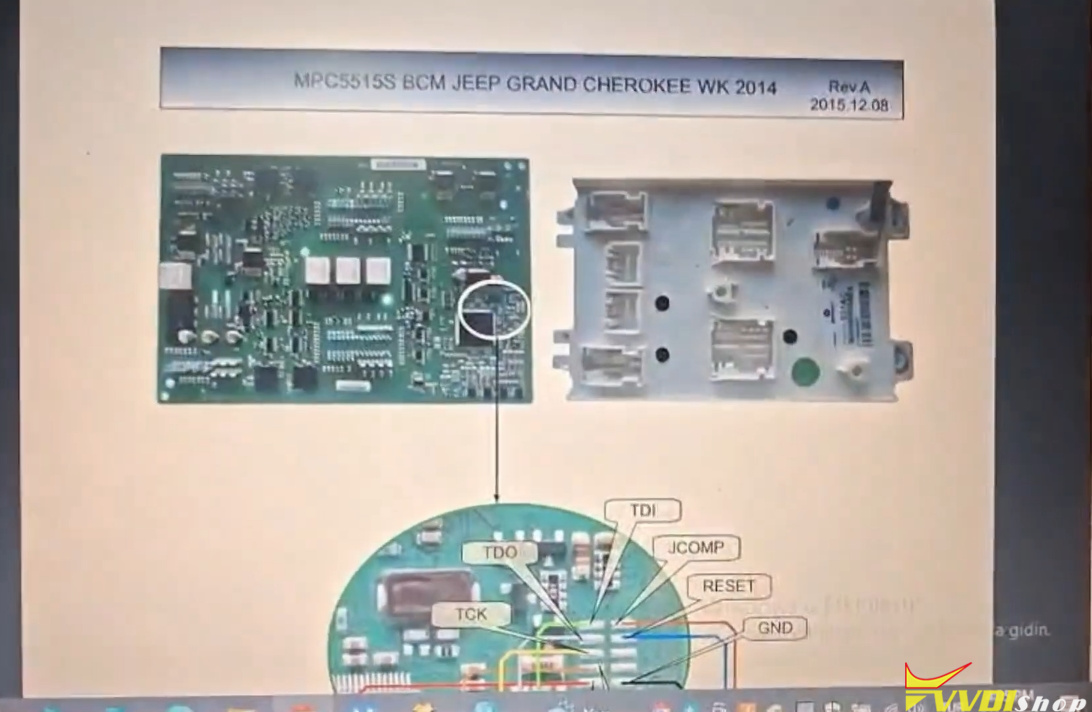
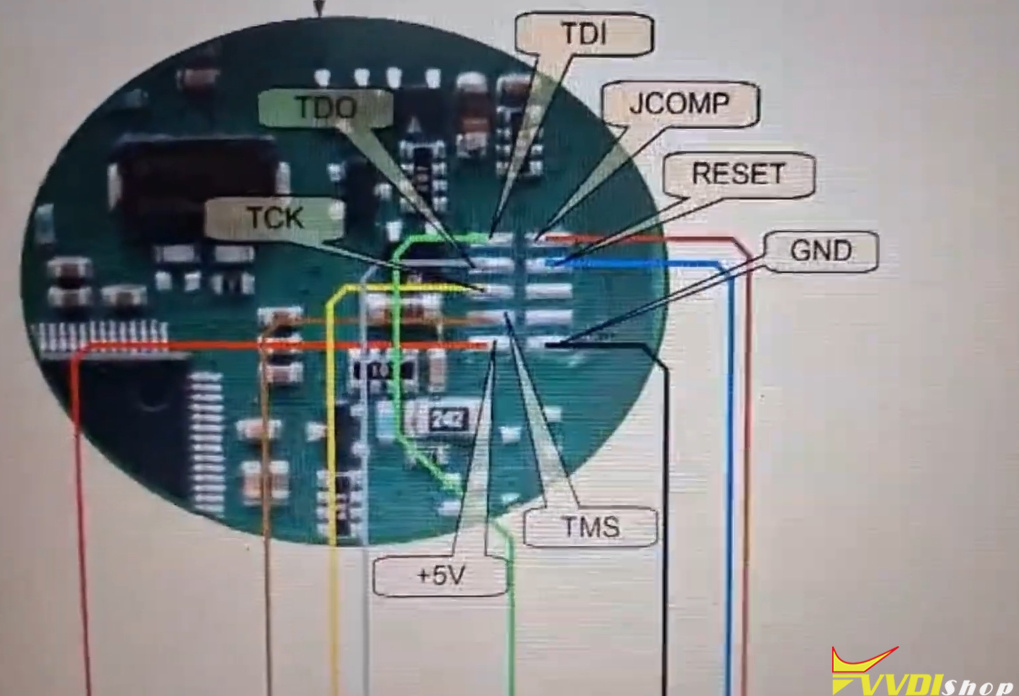
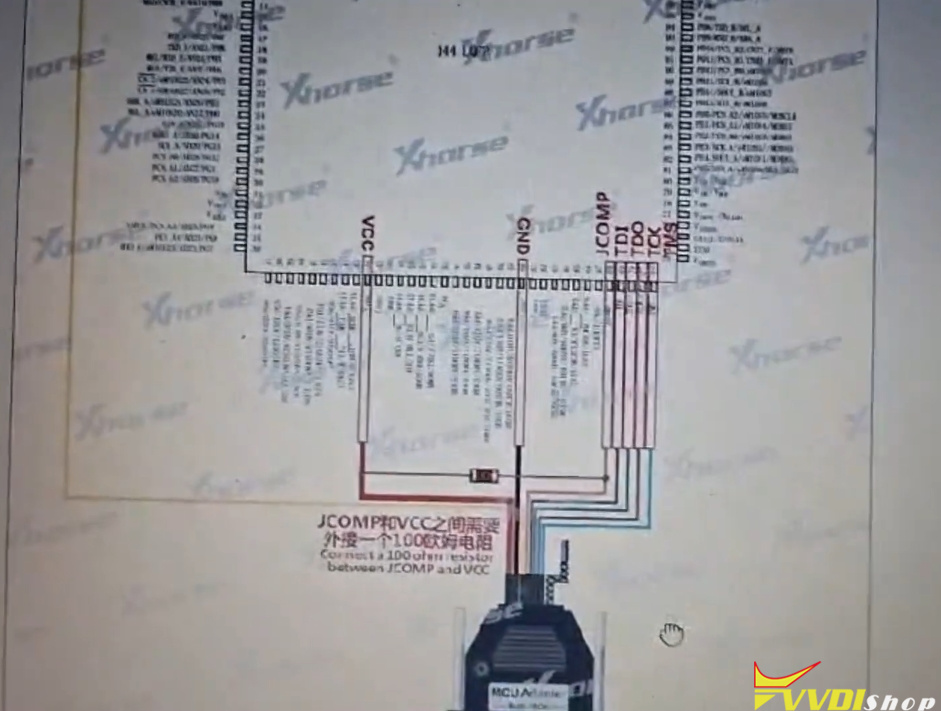
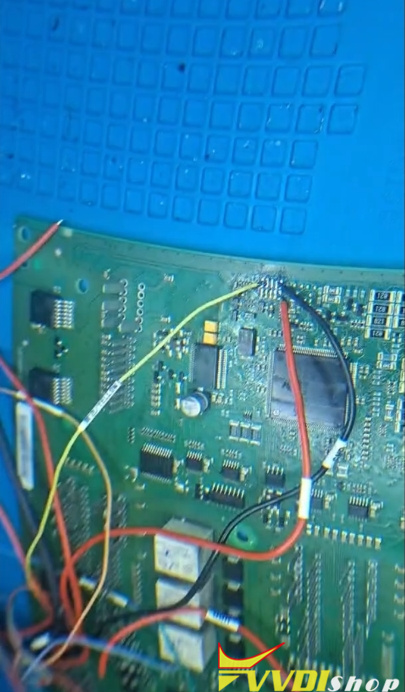
To read and write the MPC5515 chip, you need to connect to specific test points (pads) on the circuit board. These pads are clearly marked and correspond to standard JTAG/SWD connections.
The required connections are:
TDI (Test Data In)
TDO (Test Data Out)
TCK (Test Clock)
TMS (Test Mode Select)
GND (Ground)
RESET
VCC (Power)
4. Reference the Wiring Diagram
Since Multiprog does not provide a detailed wiring diagram for this specific BCM, the XROG website offers an excellent schematic showing the exact pad locations and pin assignments.
Using this reference, you can solder the Multiprog adapter wires to the correct pads.
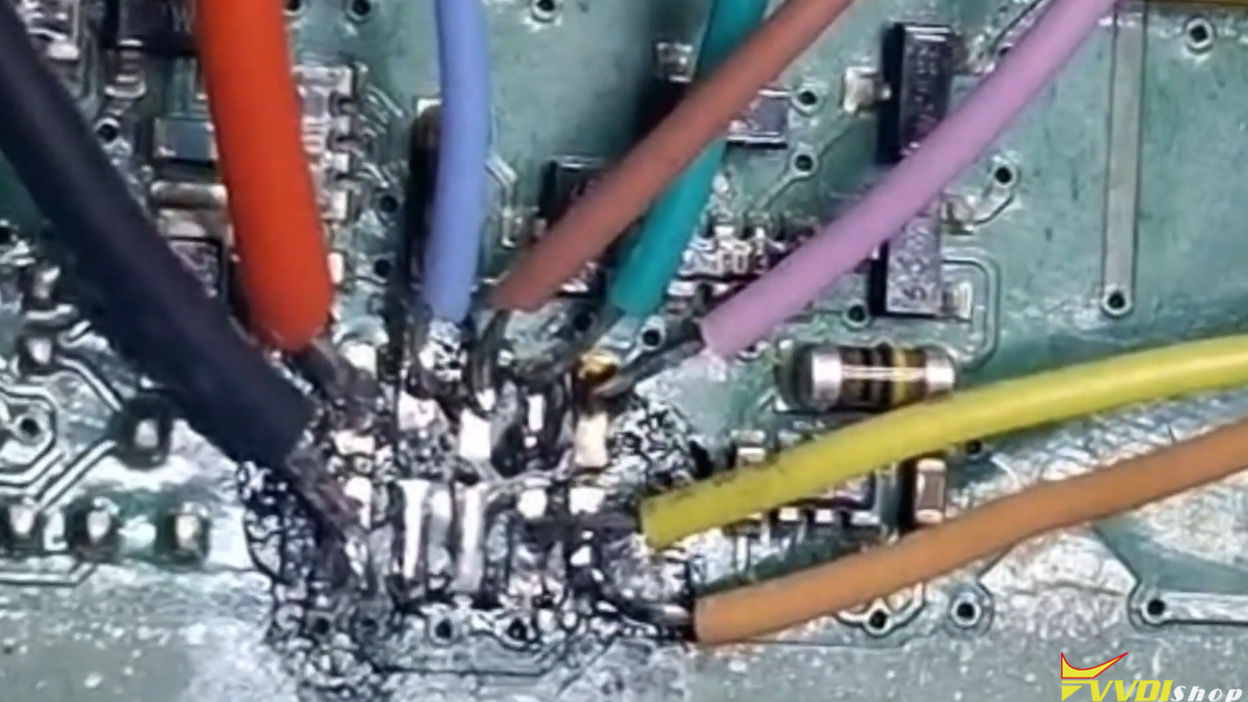
5. Solder the Connections
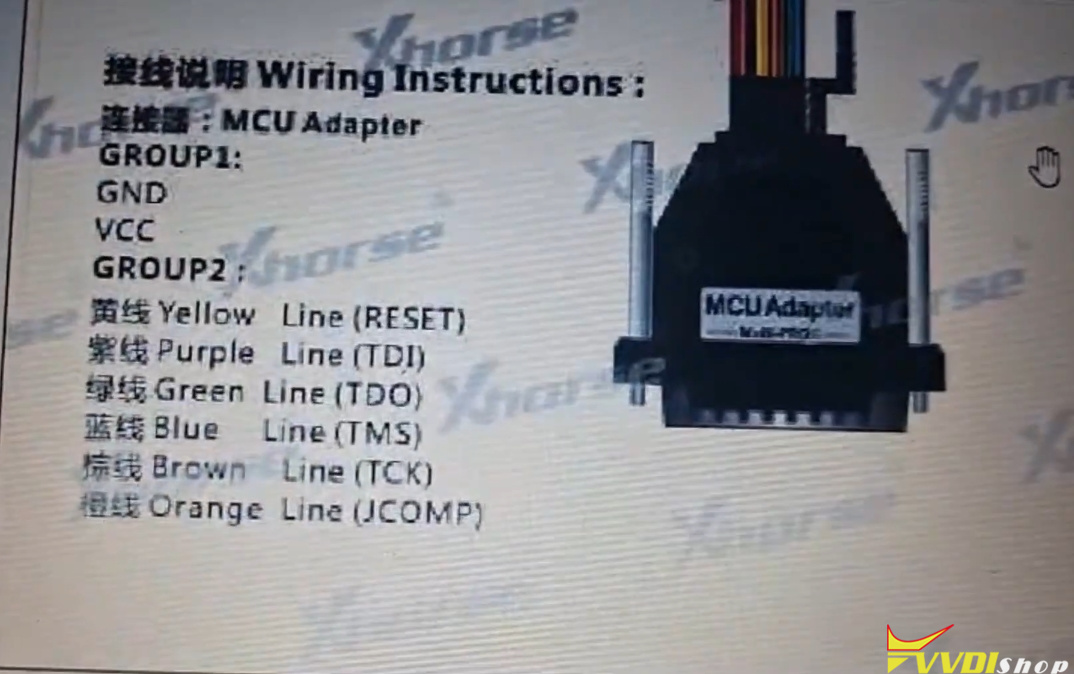
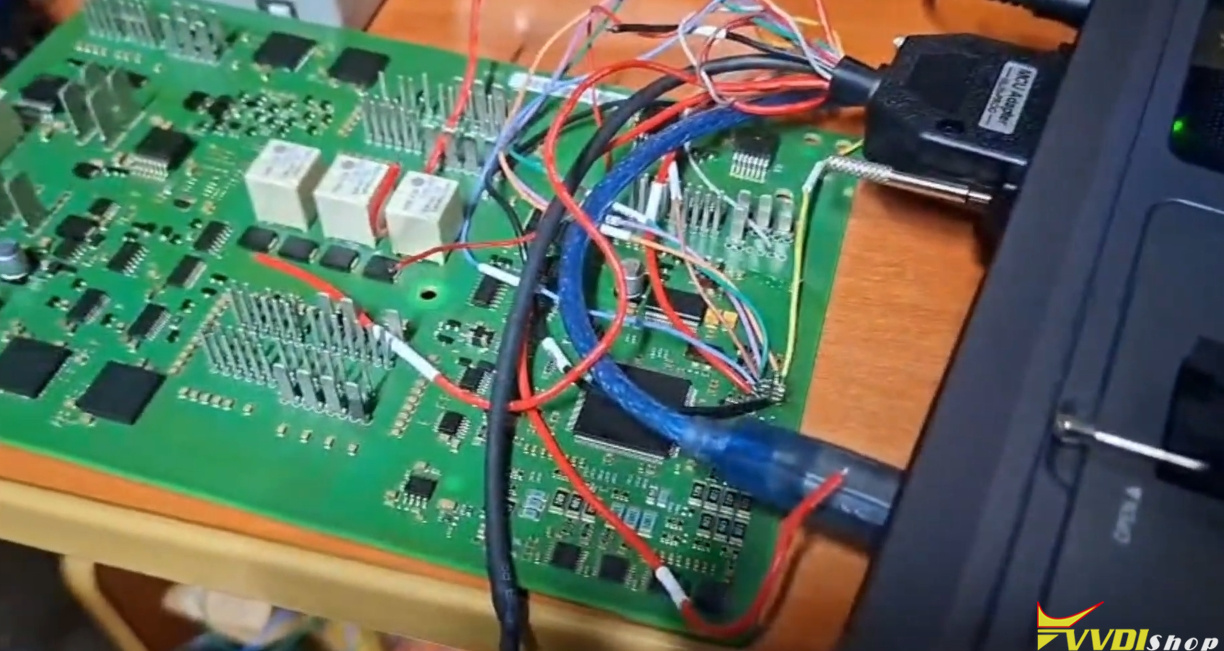
Using the Multiprog adapter and its color-coded wires:
Black – Ground
Yellow – Reset
Red/Other colors – VCC, TDI, TDO, TCK, TMS
Solder each wire carefully to the corresponding pad on the BCM board. While the result may look a bit messy, as long as the connections are secure and there are no shorts, it should work for reading and writing.
6. Connect to Multiprog
Once all wires are soldered, connect the adapter to the Multiprog programmer. Launch the Multiprog software and select the chip:
Manufacturer: NXP / Freescale
Chip: MPC5515
7. Read the Faulty Module
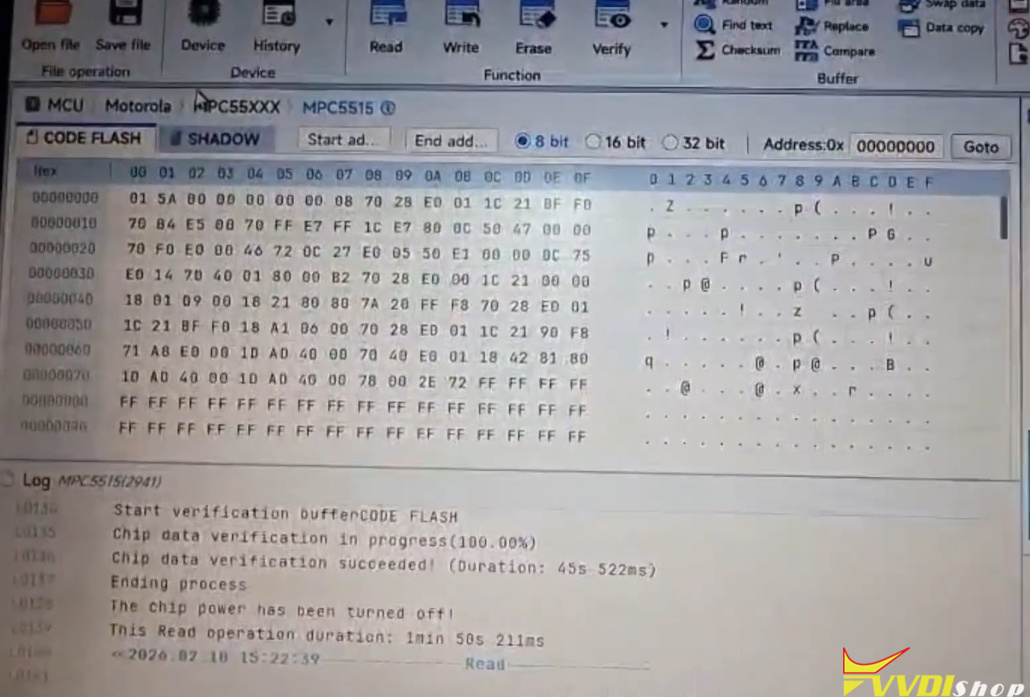
With the faulty BCM connected, read the chip’s memory. The MPC5515 contains two main memory areas:
Code Flash – contains the firmware, VIN, configuration, and all critical vehicle data.
Shadow Flash – typically almost empty and not used for vehicle-specific info.
The software will read both areas. After reading, you’ll see:
Verification – the software confirms the read was successful.
Save – save both the Code Flash and Shadow Flash files to your computer.
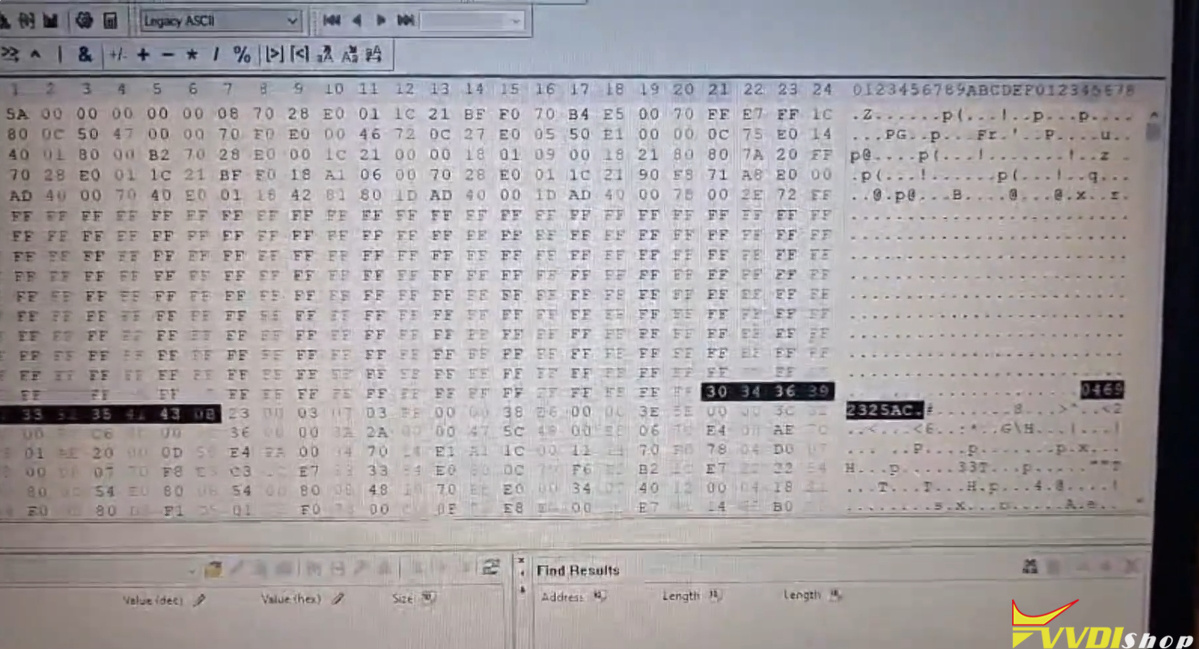
8. Inspect the Code Flash
Opening the Code Flash file in a hex editor reveals valuable information, including:
Software part number (e.g., 04692325AC)
VIN – located by searching for “1C” (the VIN begins with “1C” for US-built vehicles). The 17-digit VIN appears in multiple locations within the file.
9. Read the Donor Module
Now, repeat the same procedure on the working donor module:
Solder the wires
Connect to Xhorse Multiprog
Read both memory areas
At this point, you have two complete backups: one from the faulty module and one from the donor.
10. Write the Faulty Module’s Data to the Donor
Now it’s time to transfer the data:
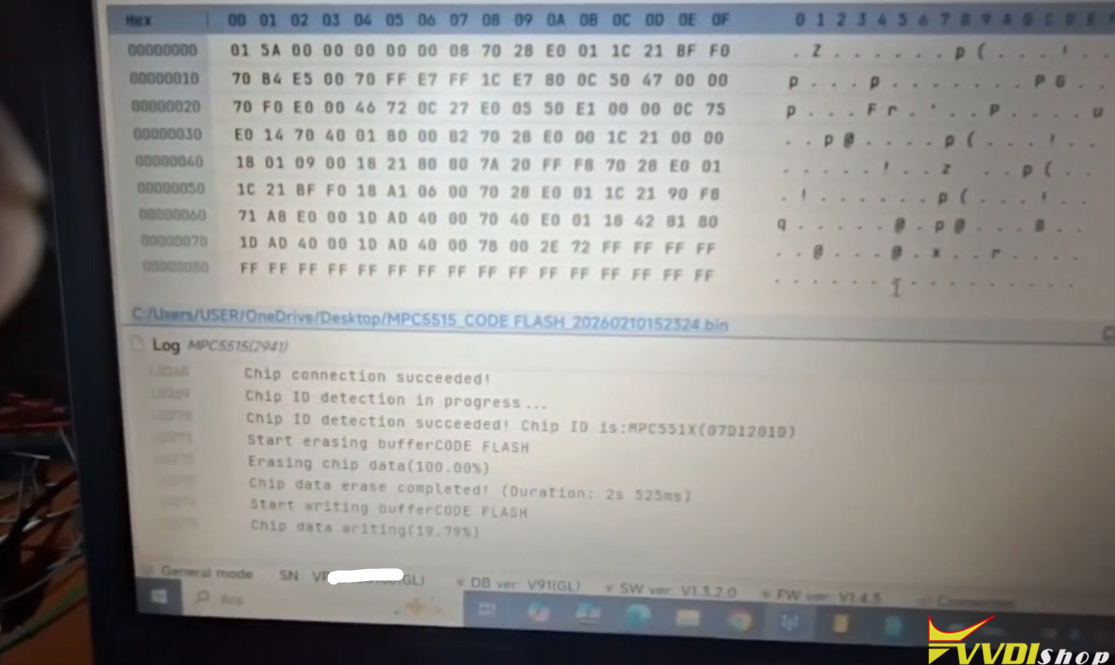
Open the faulty module’s Code Flash file in Multiprog.
Select the write function.
The software will write the faulty module’s firmware and vehicle data into the donor module’s MPC5515 chip.
Once writing is complete, the donor module now contains:
The original VIN
PIN code
Vehicle configuration data
All other unique information from the faulty BCM
11. Final Step
After the writing process finishes:
-
Disconnect the wires
-
Reassemble the BCM casing
-
Install the cloned module into the vehicle
The BCM should now function as if it were the original unit, with all vehicle systems operating correctly.
Important Considerations
- Part numbers must match – Only clone BCMs with identical part numbers.
- Used modules – You cannot simply install a used BCM and program it with a dealer tool like WiTECH. Cloning bypasses this restriction entirely.
- Water damage – If the faulty module has visible corrosion, cloning is the ideal solution since the data itself is still intact on the chip.
- No third-party devices needed – Unlike some procedures that require additional tools, this method uses only the Multiprog programmer and the correct wiring.
Conclusion
Cloning a BCM using the MPC5515 chip is a reliable, cost-effective way to replace a faulty module in Jeep Grand Cherokee, Dodge Ram, and Durango vehicles. With a Multiprog programmer, basic soldering skills, and a good wiring reference, you can transfer all critical vehicle data from a dead module to a working donor in under an hour.
This process saves time, money, and the hassle of dealing with dealership programming—making it an essential skill for any automotive repair or tuning professional.