


Problem:
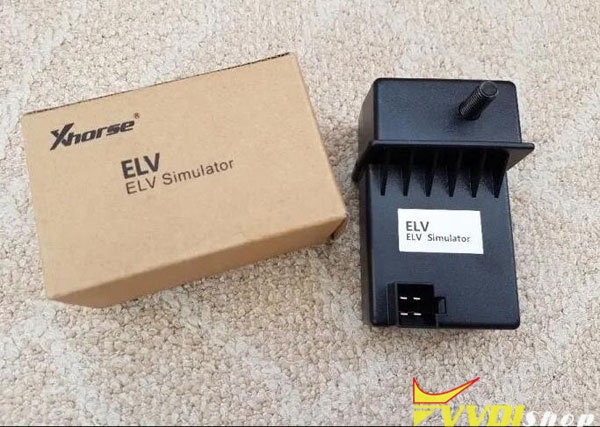
We have a 2010 Mercedes E350 W212 in our shop. The steering column lock stopped operating. We purchased an ELV emulator by xhorse to use with our vvdi mb tool.
When I follow the procedure I found on multiple places, I get to the point where I read the EIS and hit ‘get’ on erase password. When I paste this result into the field above it, the password does not seem to be hashed out, rather it pastes the same value that is in the erase password field. Error “Erase EIS ……Failed”
The procedure I followed is as follows:
Step 1 – Using xhorse w204 eis cable hook up two connectors to EIS and one connector to xhorse emulator EZL.
Step 2 – Apply power source to cable
Step 3 – Hook up vvd mb
Step 4 – Load vvdi mb software
Step 5 – Read ESL using ESL TOOLS. In which case the status comes back as ‘ESL Status: Closed’
Step 6 – Read EIS using EIS TOOLS. In which case the status comes back as ‘Reading data success.- EIS is normal’
Step 7 – Click ‘get’ button beside erase pass.
As described above, I can go no further than this due to incorrect password calculation. Arguably it is not calculating a password at all.
Solution:
You doing it wrong.
You need to calculate EIS (Ignition switch) Password, and save data. After that this data has to be written is ESL ( lock) menu. Erase password has nothing to do with this.
When you hit “Get” that’s erased password AKA service password to renew eis which is needed to erase data and renew eis which even if you don’t have EIS pass you can’t do it
What you need to do is go to password calculation and calculate EIS password , like if it was a ALL LOST KEYS.
So go to password inquiries and start a reading, if you have subscription then we recommend doing All lost keys option to Get EIS password, then
Once you get password from server, copy and save it then do as following
1. Go to EIS menu
2. Read EIS data
3. Copy password in password section
4. click “get password” so you’ll have service password as well
5. Save EIS data
6. Renew eis by IR
7. Load eis data ( saved in step 5)
8. Write VIN by OBD
9. Write EIS data by IR
10. Personalize ELV emulator.
11. Stick key in and you will see it’s activated
12. Connect both to car and start it.
If you want to only use 1 token connect EIS back in car and do it like if it was a copy, when it asks if elv sync click yes,, then follow prompts.
Otherwise just wait until tokens go into your acc and do as indicated above.