

In this article, we will walk through the process of recovering and programming a ID49 smart key for a Yamaha when all keys are lost, using the Xhorse VVDI Key Tool Plus. The immobilizer shown belongs to a Yamaha Flu, but it is the same immobilizer used in the NMAX and XMAX. In this case, the owner did not have the programming password, so the immobilizer was brought in to have the password read and a new-model Smart Key programmed. The work was done entirely with the Xhorse VVDI Key Tool Plus.
Identifying the Immobilizer Type
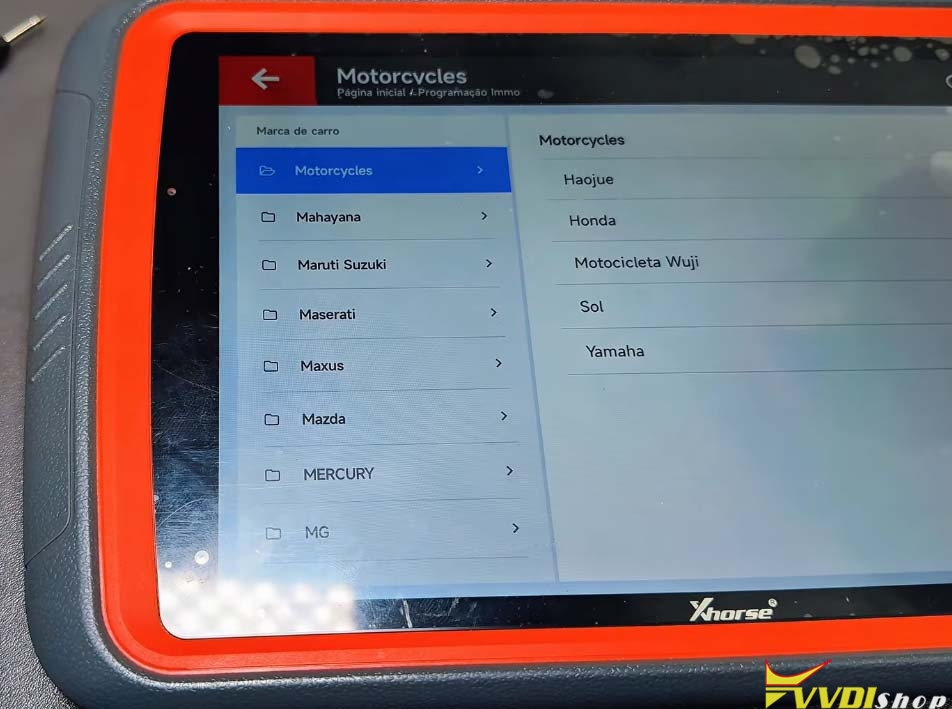
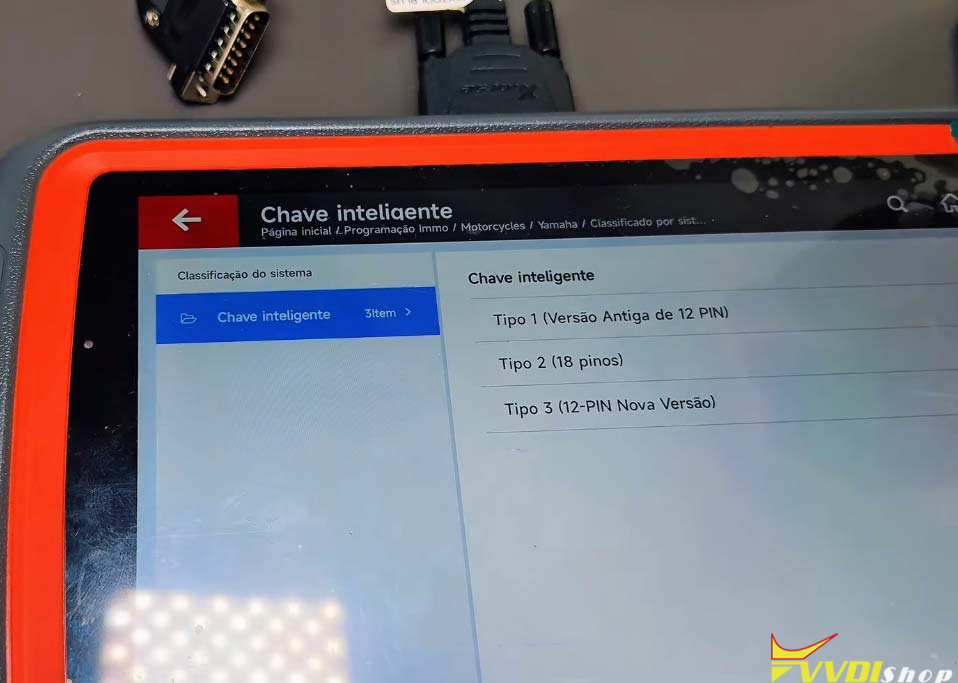
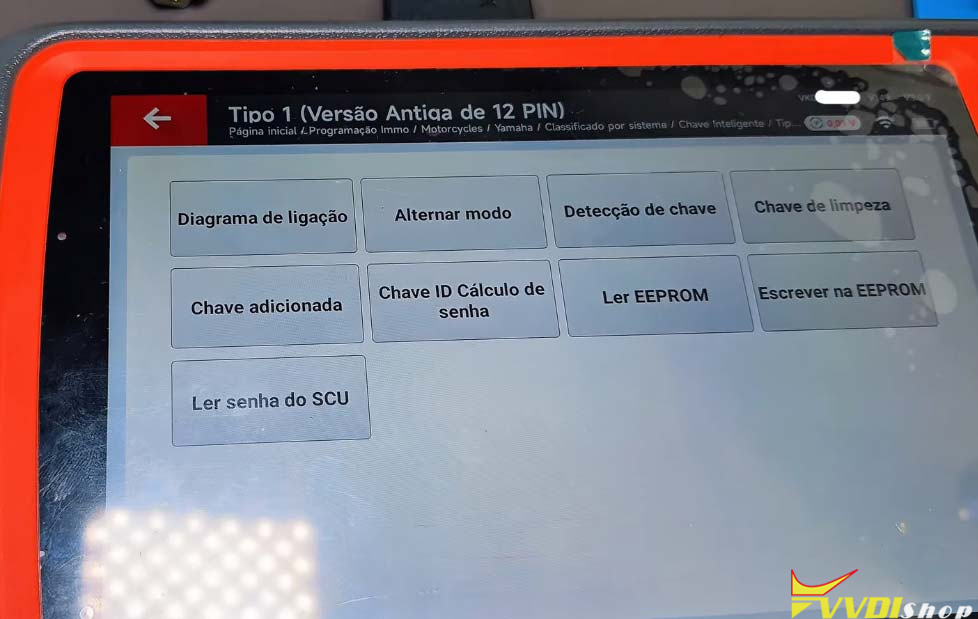
On the VVDI Key Tool Plus (the screens are the same as on the VVDI Key Tool MIDI), the procedure starts by going into IMMO programming, then selecting Motorcycles. Under Yamaha, classified by smart key system, there are three types:
Type 1 — 12-pin version
Type 2 — 18-pin version
Type 3 — the new version, for 2025 and newer models
For this job, the first version was selected to start programming.
Step 1: Reading the Flash and EEPROM
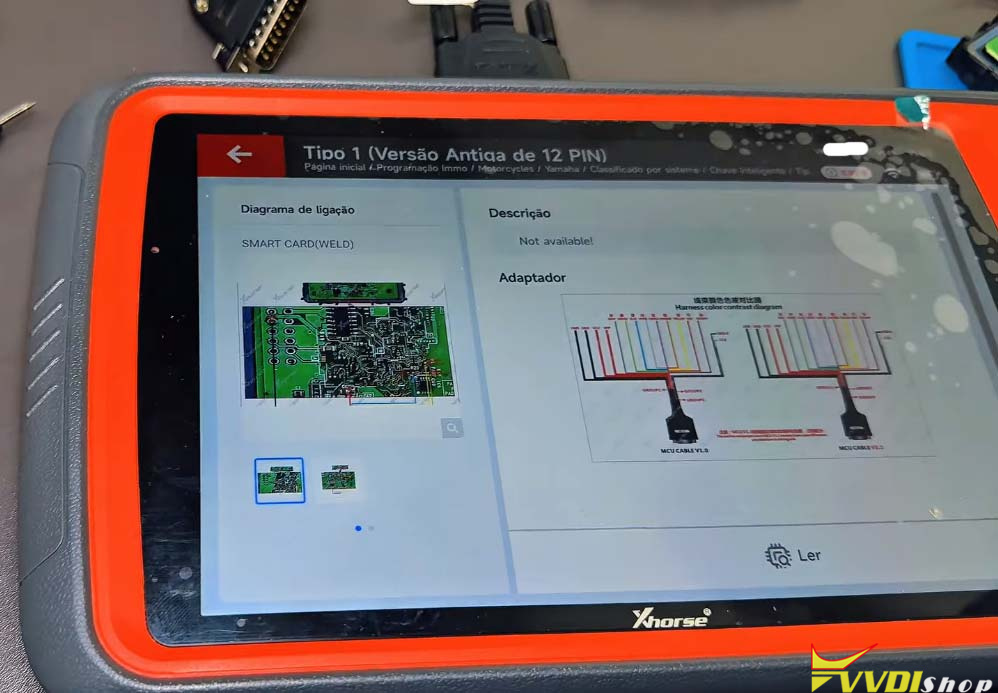
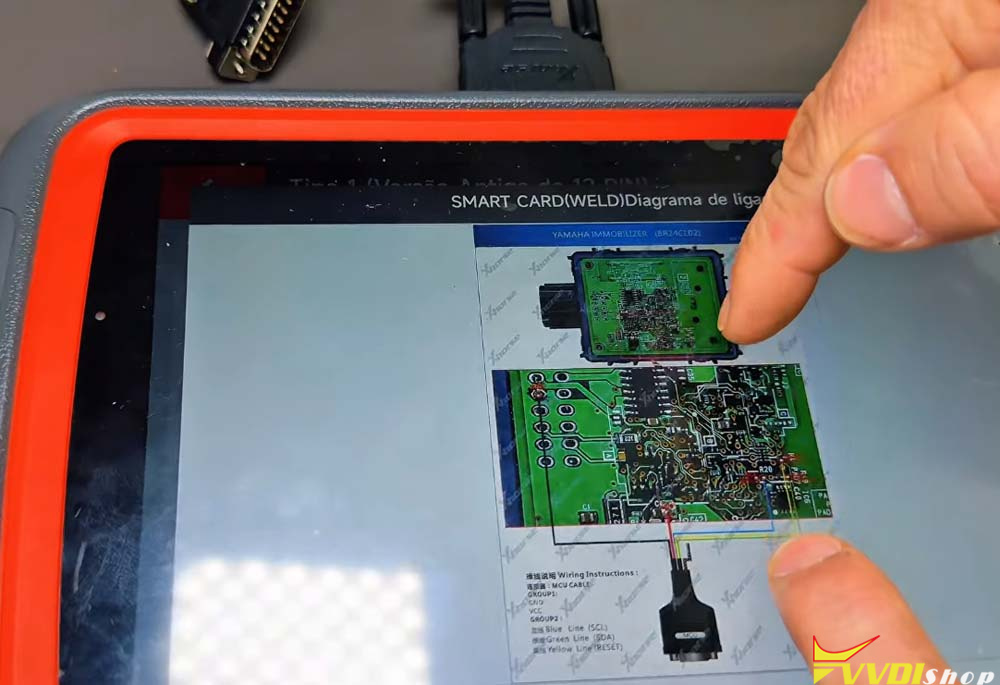
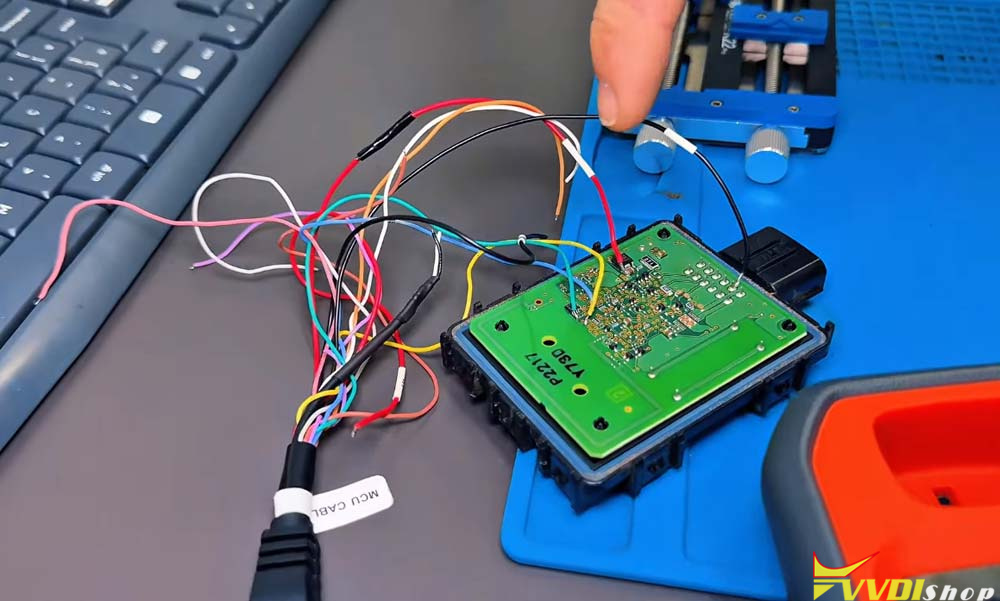
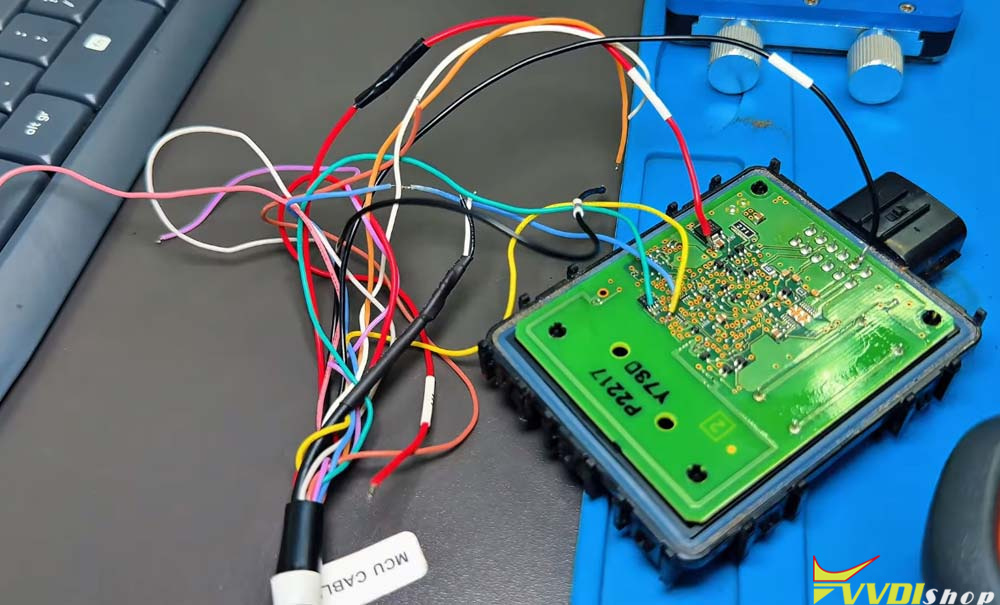
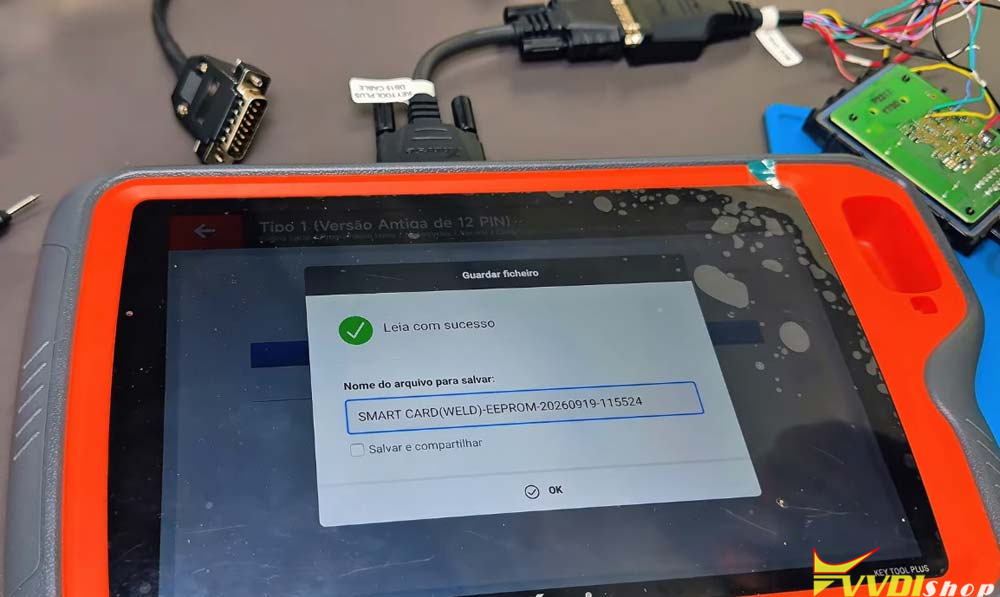
The first thing that must be done is to read the flash — reading what is written inside the immobilizer — as well as reading the EEPROM. The software provides a soldering diagram, and the MCU cable is used. Since the soldering had already been done, the read was performed, and the file was saved with the date.
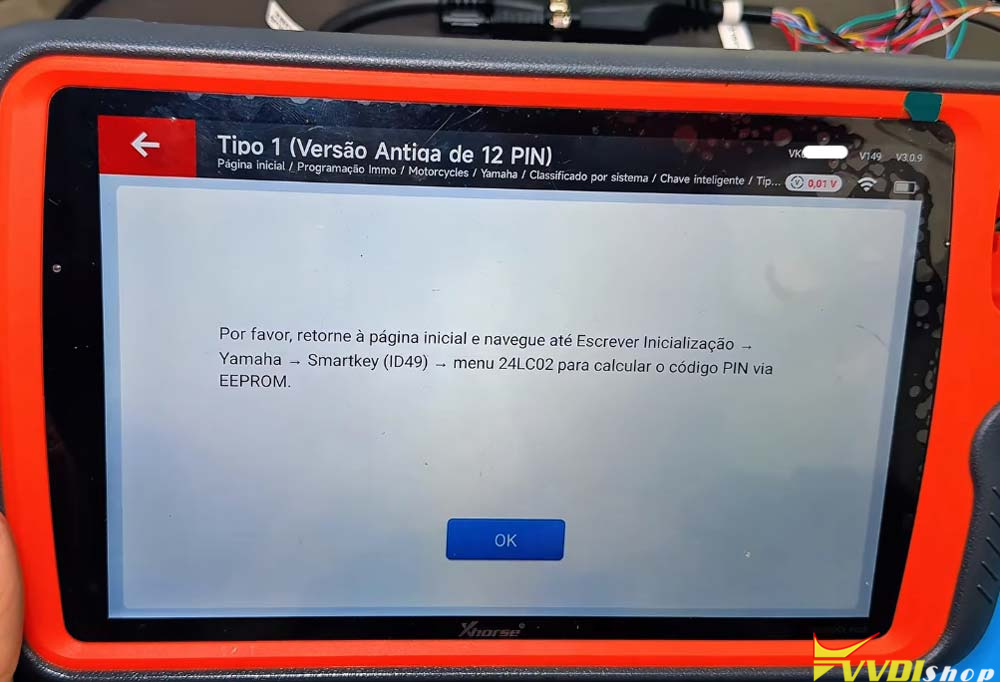
After reading, the immobilizer was unplugged. One important note: if you go directly to the “Read SCU password” option, the machine will tell you that you must go back to the main menu and read via the 24LC02 instead. In other words, the password cannot be retrieved from the file that was just read in that menu.
Step 2: Reading the Password via the 24LC02
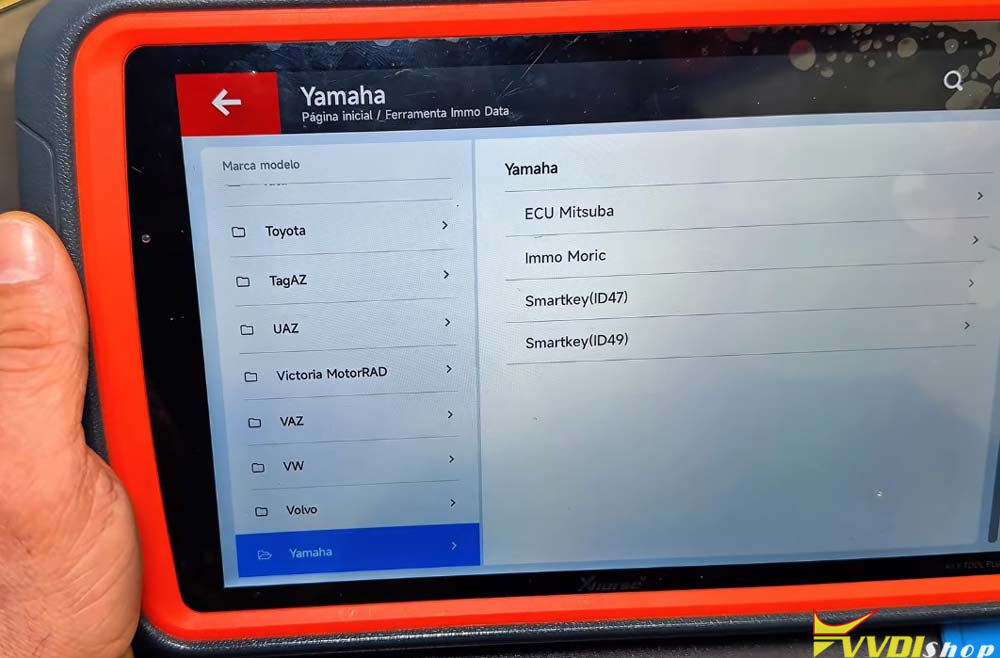
To get the password, navigate to IMMO Data Tool / IMMO Tool, select Yamaha, then the 24LC02 option, and load the file that was read earlier (the 19/09/26 file). Once opened, the tool displays Key 1, Key 2, and at the bottom, the PIN — the vehicle’s pincode. The pincode was photographed for use in the next stage.
We can program the key directly with the VVDI Key Tool Plus, you can also program the key using bench programming box. i.e the Moto Giga bench box.
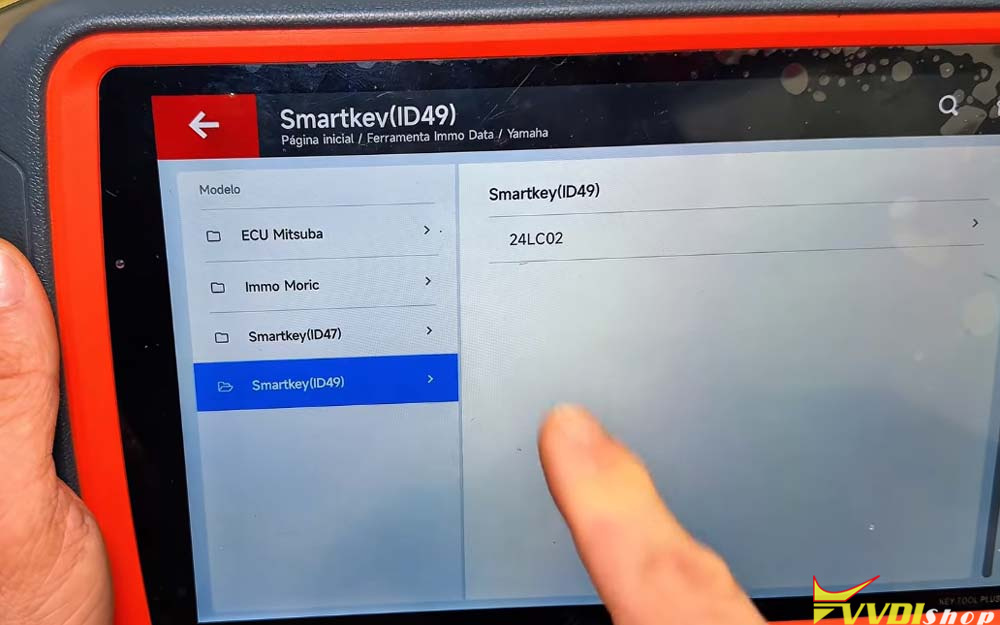
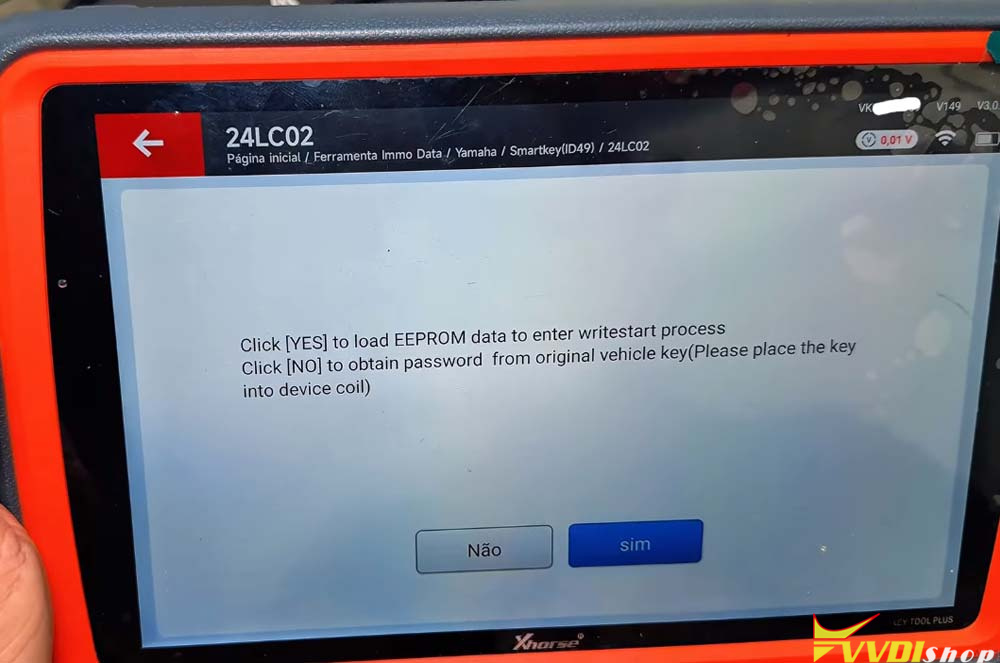
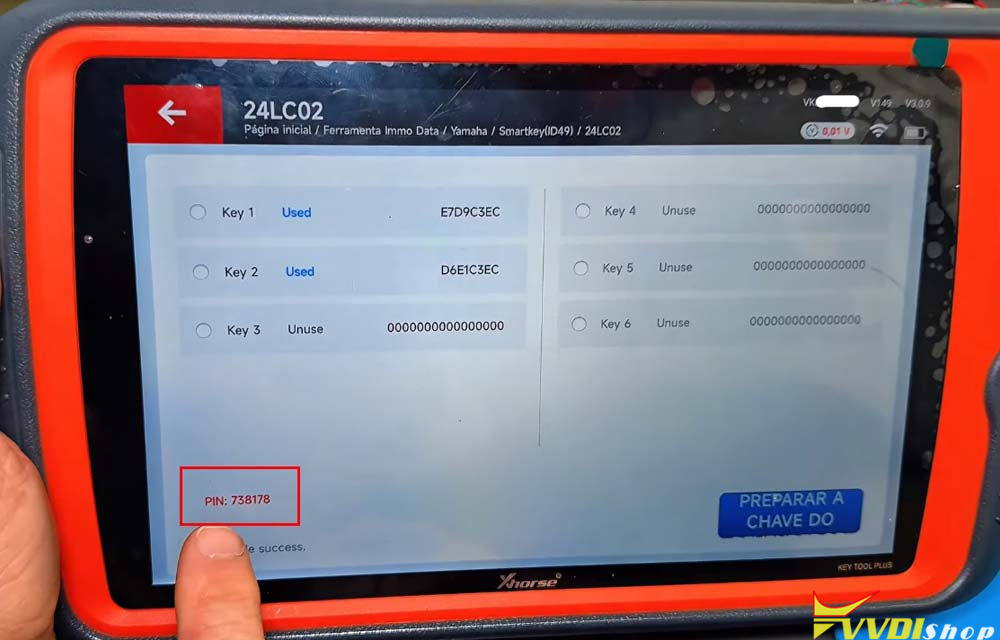
Step 3: Setting Up the Bench Simulator
The simulator functions exactly as if it were the actual motorcycle. The setup involves:
Connecting the appropriate cable (the cables come with the unit; “PCX and Yamaha” cable was selected)
Providing a 12V power supply — negative and positive connections
After powering up, the key was checked for frequency (these keys sometimes arrive with the battery off), and the setup was restarted.
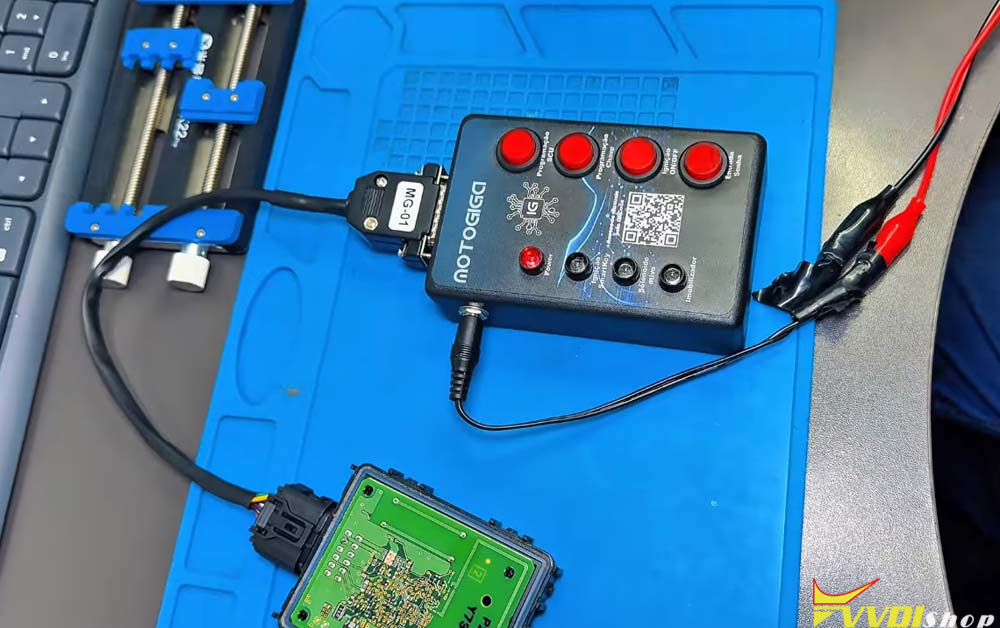
Step 4: Entering the Password on the Key
With the password ready, the key’s password entry mode is activated:
Hold the button pressed until the LED lights up. This LED corresponds to the small yellow key indicator on the Yamaha’s dashboard.
The LED should blink once — hold again if needed. After the first blink, release.
It blinks a second time.
On the third time, the LED stays lit, then goes out. When it goes out, you begin entering the pincode.
The pincode is entered by pressing and releasing the button in groups matching each digit. In the video, the sequence entered was: 7, then 3, then 8, then 1, then 7, then 8 — with each digit entered by pressing the button that number of times and then releasing, followed by a short beep.
After the final digit:
The key’s LED turns red
Confirm by pressing the button once
The key gives two short beeps, confirming the key has been programmed
Step 5: Testing the Key
At this point, the ignition can be turned on. When the ignition is switched on, the key symbol flashes, confirming the key has been written. Pressing the button produces a short beep, and the key is ready. The job is finished and the vehicle can be returned to the customer.
This process can be done with both the VVDI Key Tool Plus and the VVDI MIDI.
Important Note from the Locksmith
For Yamaha Flu, NMAX, and XMAX keys, the motorcycle must be properly registered in the owner’s name. The shop always asks for the motorcycle’s documentation, because they do not want to make keys for motorcycles they cannot verify ownership of. If the bike is in your name, you can send the document as proof of ownership — and the motorcycle itself doesn’t even need to be brought in, only the immobilizer.