This article provides a step-by-step guide on programming a new smart key for a Dodge Charger (2019-2021 model) using the Xhorse VVDI Key Tool Max Pro and FCA JCD bypass cable.
Understanding the Challenge: The Smart Key System
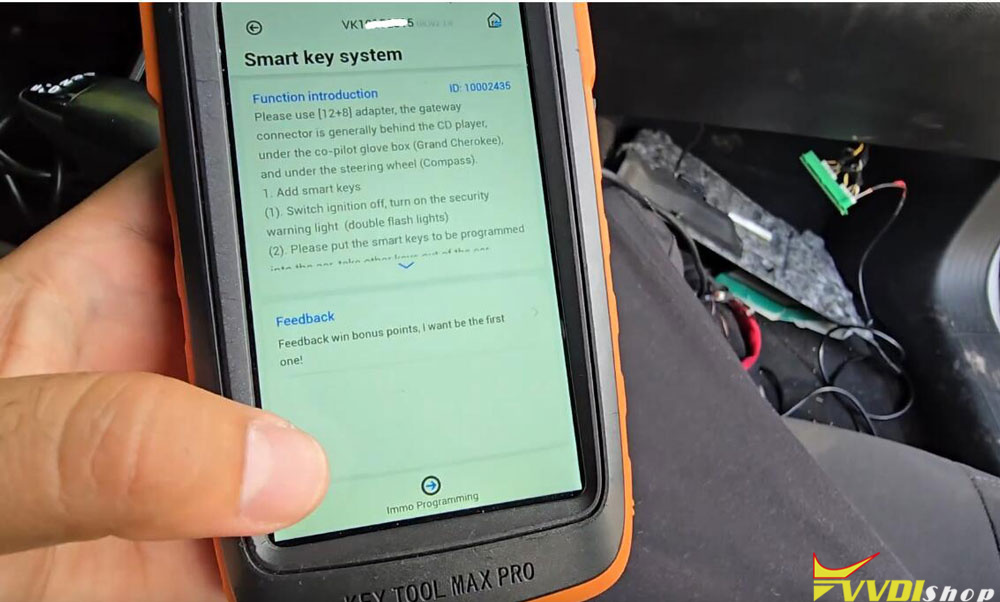
Modern Dodge Chargers are equipped with a sophisticated security system called an immobilizer. The car’s computer must recognize a unique code from a programmed key before it will allow the engine to start. When all keys are lost, the car cannot be started normally, and the key data must be reprogrammed directly into the vehicle’s computer. This requires specialized equipment to bypass the security and communicate with the car’s modules.
To perform this procedure, you will need:
- Xhorse Key Tool Max Pro (or Key Tool Plus): This device handles the reading of the security PIN code and the programming of the new keys.
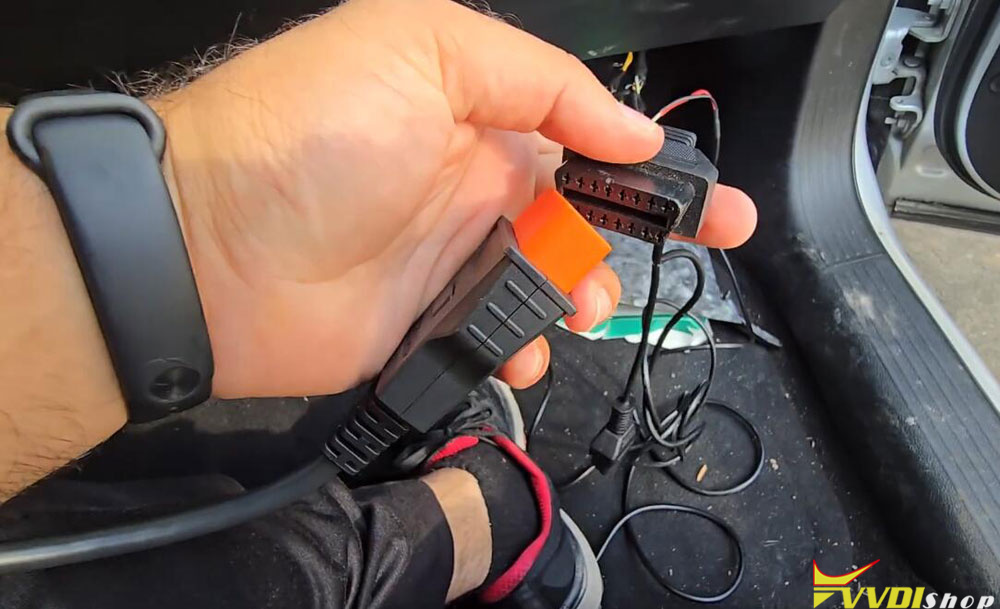
- JCD 2 Bypass Cable (or Equivalent): This is a crucial adapter. It has two connectors:
One OBD-II connector for the diagnostic port.
A second OBD-II port where you plug in your key programmer.
Two loose wires (typically red and black) with small pins for direct connection.
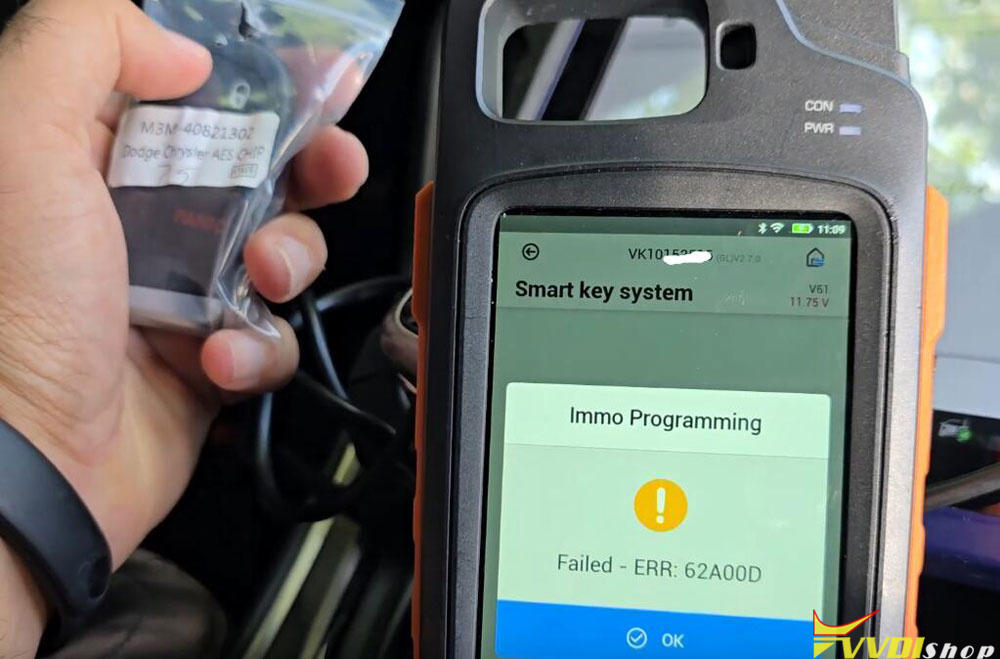
- Blank Smart Keys: You must have at least one new, uncut smart key compatible with the Dodge Charger. There are two common types: one with an AES chip and another with a more common 46 chip. It is vital to ensure you have the correct key for your specific vehicle model year.
- Basic Tools: A trim removal tool or a flat-head screwdriver to carefully remove the passenger-side kick panel.
Step-by-Step Programming Procedure:
Warning: This is a technical procedure for professional automotive locksmiths. Incorrectly following these steps could potentially disrupt the vehicle’s electronic systems. Always ensure your tools are updated and you understand the process fully before beginning.
Step 1: Physical Connection and Bypass
-
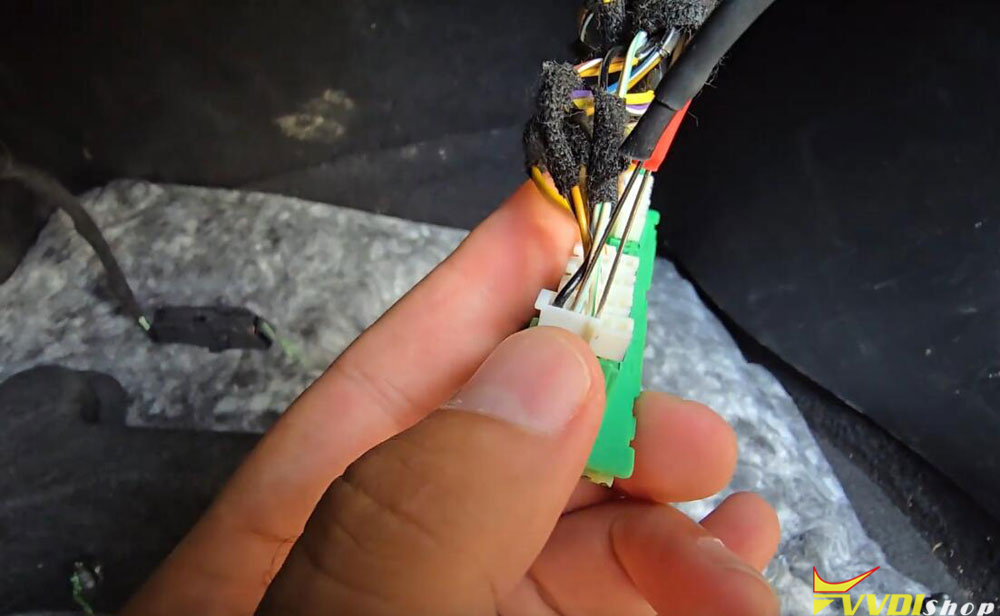
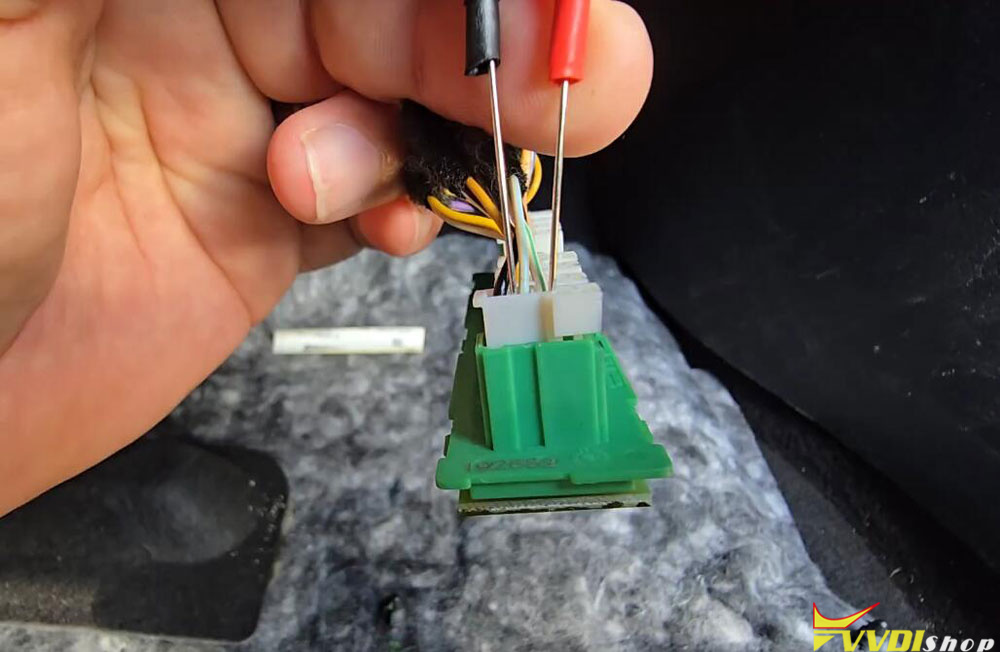
Locate the Green Connector: On the passenger side of the vehicle, near the footwell, you will find a kick panel. Carefully unclip and remove this panel to reveal a wiring harness. Look for a distinctive green connector.
-
Disconnect the Green Connector: Unplug this green connector from its housing. You will see it has three terminal pins inside.
-
Connect the Bypass Cable Wires: This is the most critical step for physical connection.
-
Identify the three pins on the green connector.
-
Connect the RED wire from the JCD 2 cable to the pin on the right-hand side.
-
Connect the BLACK wire to the center pin.
-
Important: The first pin (left-hand side) is not used. Leave it disconnected.
-
Tip: Taking a photo for reference before connecting can help avoid mistakes.
-
-
Complete the Tool Connection:
-
Plug the OBD-II connector from the JCD 2 cable into the car’s OBD-II port (usually under the dashboard near the driver’s knees).
-
Plug the Xhorse Key Tool Max Pro into the second OBD-II port on the JCD 2 cable.
-

Step 2: Program Smart Key
Navigate the Tool’s Menu:
- Power on the Key Tool Max Pro.
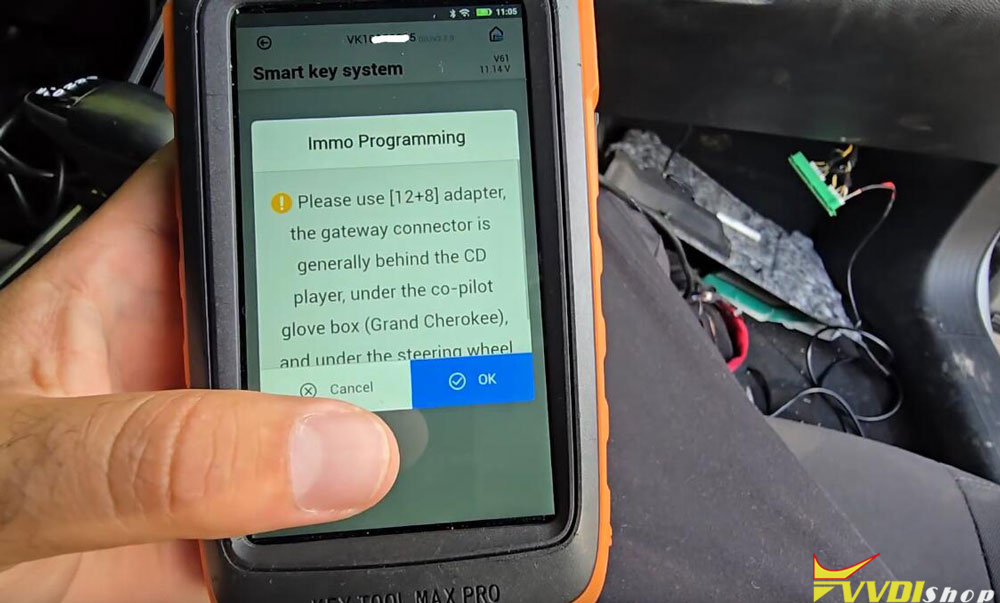
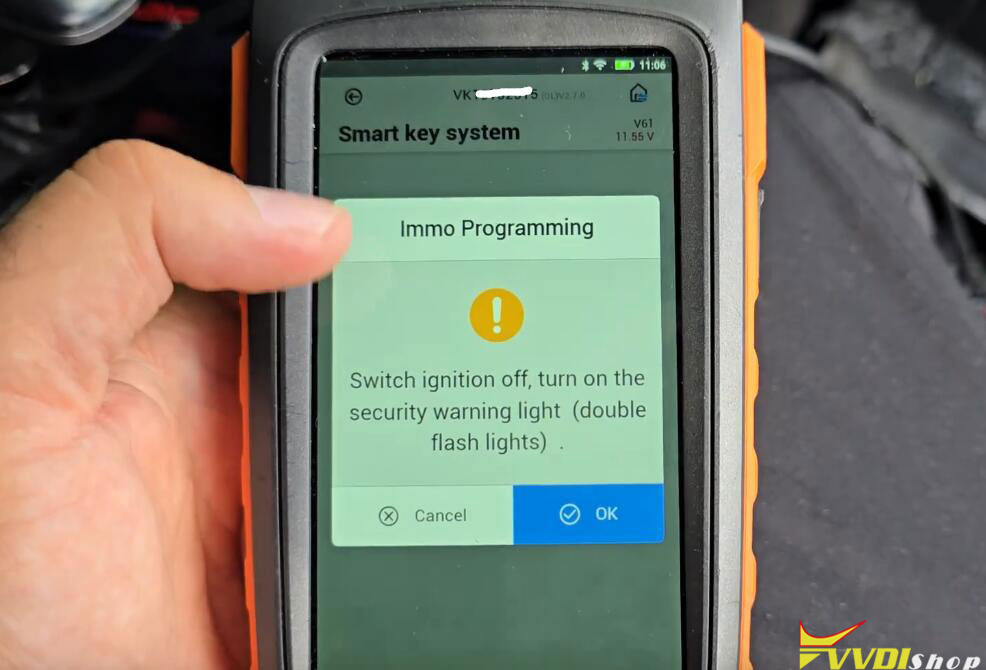
- Navigate to the main menu and select “MMO Programming”.
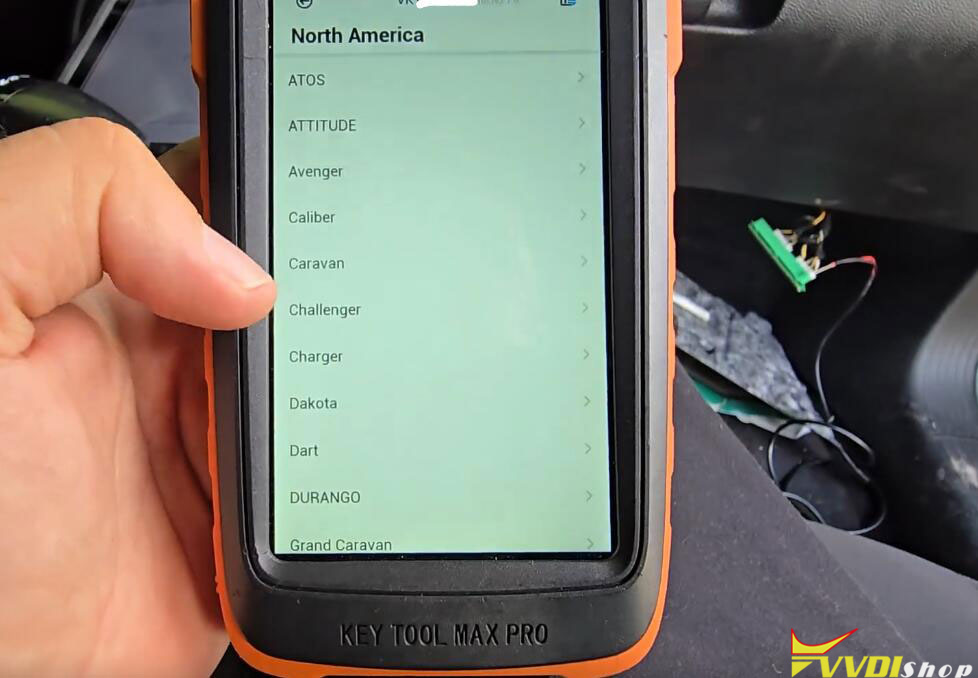
- Select the brand “Dodge.”
- Choose the region (e.g., “North America”).
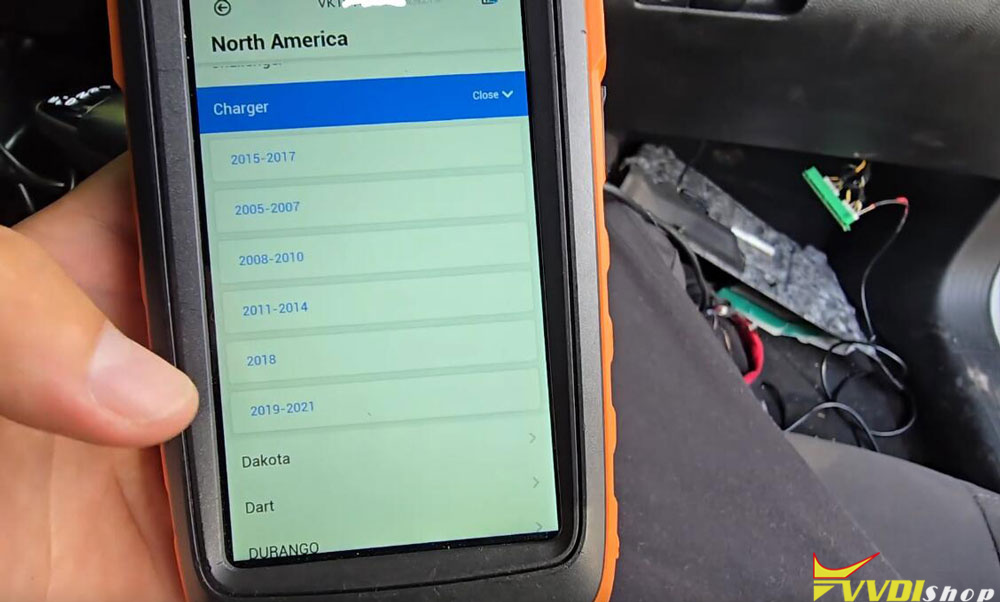
- Select the model (“Charger”) and the correct year range (e.g., “2019-2021”).
- Select “Read PIN Code“.
Read the PIN Code:
- The tool will instruct you to ensure the ignition is OFF and the hazard lights are ON. Comply with these instructions.
- The tool will require an internet connection to communicate with its database and retrieve the vehicle’s unique security PIN code.
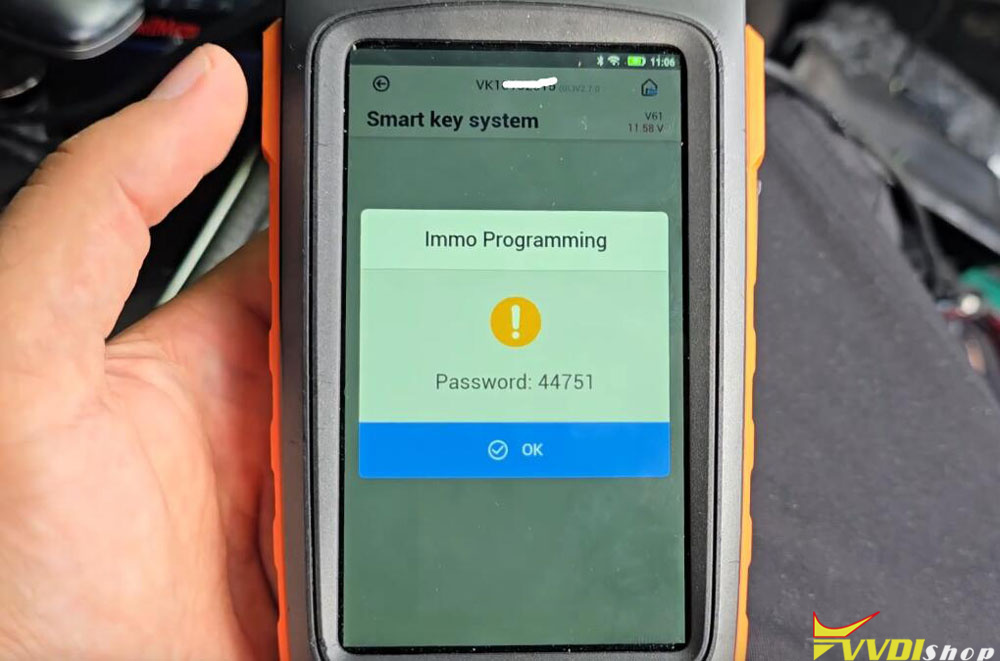
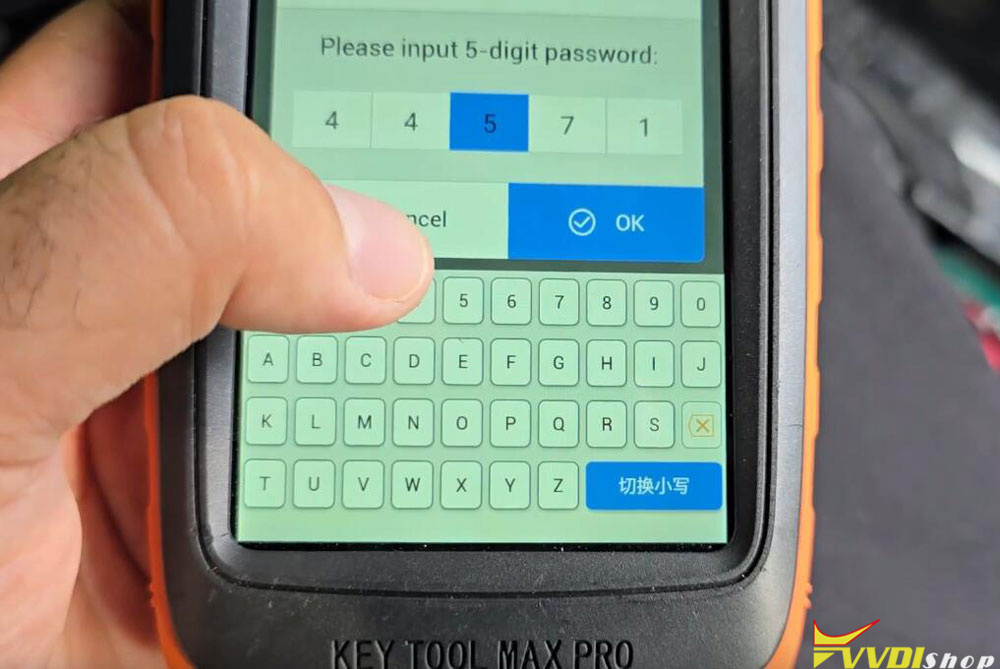
- The tool will process the request and, if successful, display a 5-digit code (e.g., 44751). Write this code down carefully; you will need it immediately.
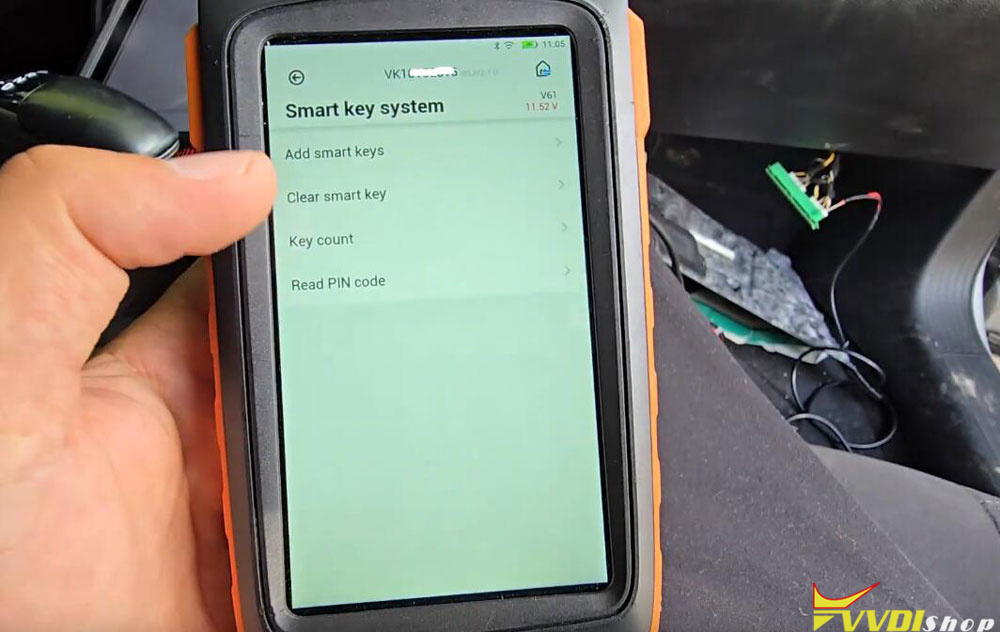
Add a New Smart Key:
- Back in the menu, now select “Add Smart Key.”
- The tool will prompt you to enter the PIN code you just retrieved. Input it correctly.
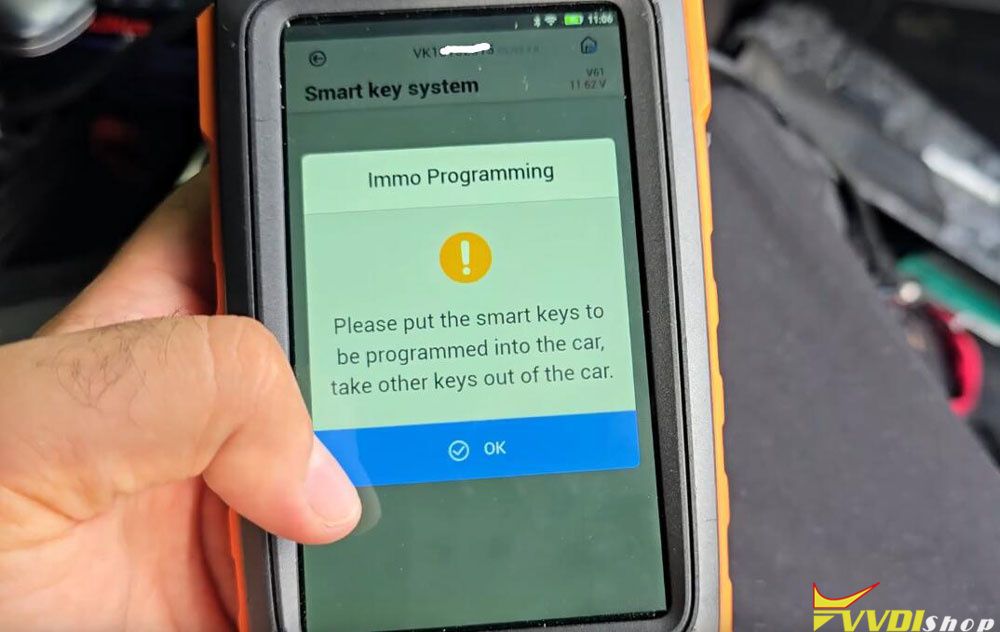
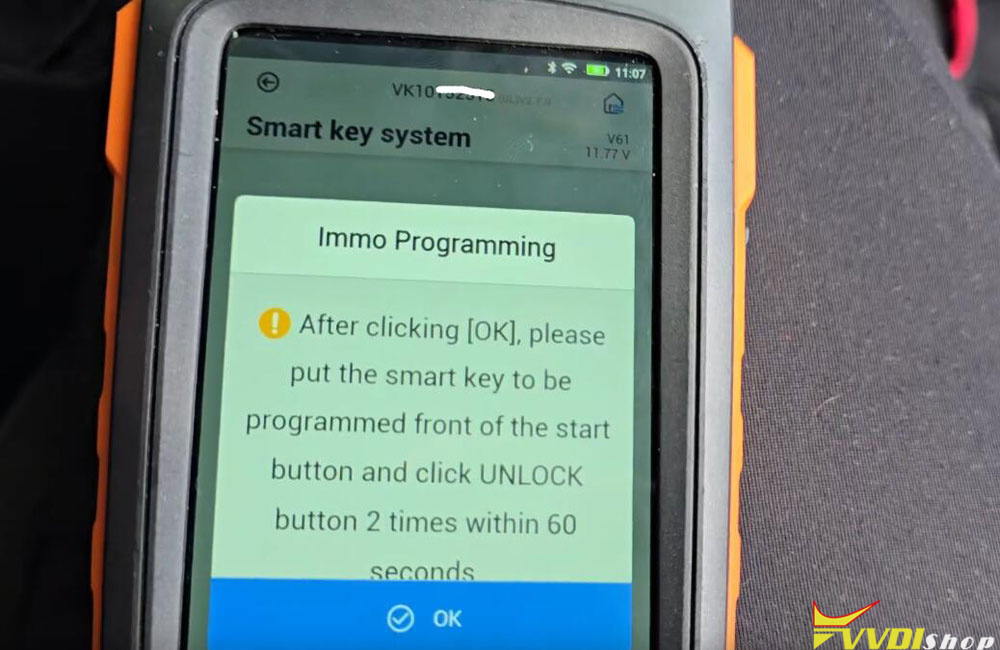
- Next, the tool will give instructions on how to present the new key. Typically, this involves placing the new, unprogrammed smart key directly on the Start/Stop button.
- While the key is in place, you will be instructed to press the LOCK button on the key fob itself.
- The tool and the vehicle will now communicate to synchronize the new key. This process may take a moment. You may hear the door locks cycle, indicating success.
Step 3: Troubleshooting and Finalization
- Key Type Matters: Not all blank keys may work. If the programming attempt fails (“Save Failed”), try a different type of key (e.g., an AES chip key instead of a 46 chip key, or vice versa).
- Check Connections: If the tool fails to communicate, double-check that the wires on the green connector are secure and on the correct pins.
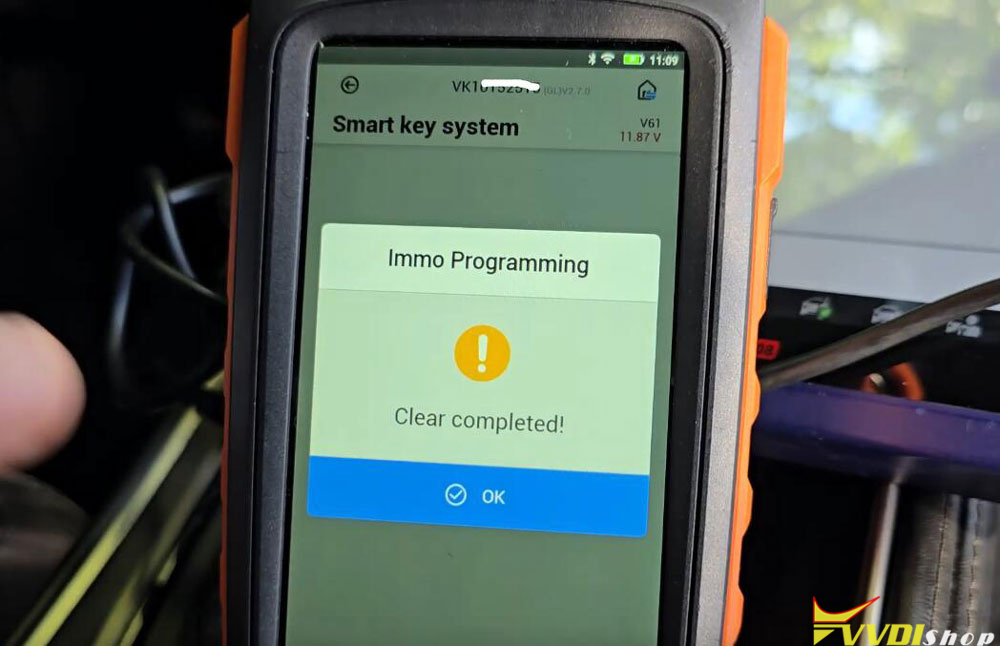
- Clearing Old Keys: The tool may have an option to “Clear Keys” or “Reset ECU.” This wipes all previously stored key IDs from the car’s memory. Use this function with extreme caution, as it will erase all keys. After a clear, you only need to program one key to start the car, but any old keys will no longer work.
- Final Test: Once the tool confirms “Programming Successful,” turn the ignition on with the new key. Attempt to start the vehicle. If successful, the key has been programmed correctly.